Upgrade & Secure Your Future with DevOps, SRE, DevSecOps, MLOps!
We spend hours scrolling social media and waste money on things we forget, but won’t spend 30 minutes a day earning certifications that can change our lives.
Master in DevOps, SRE, DevSecOps & MLOps by DevOps School!
Learn from Guru Rajesh Kumar and double your salary in just one year.
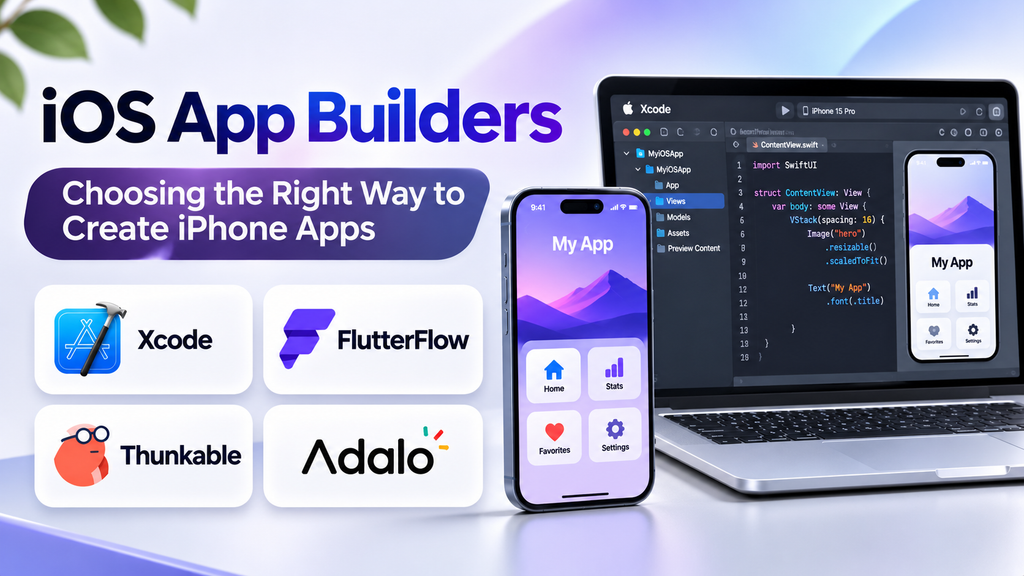
Creating an iPhone app involves more than designing attractive screens. You also need to consider Apple platform compatibility, device testing, app distribution, and how the application will be maintained after launch.
The right iOS app builder depends on whether you want to learn programming, build visually with minimal code, or develop a production application with greater technical control.
Five iOS App Builders With Different Strengths
Xcode: For Custom iOS Development
Xcode is Apple’s integrated development environment for building, testing, debugging, and submitting applications for Apple platforms. It supports development with Swift and tools such as SwiftUI, an Apple framework for building user interfaces.
Xcode offers direct access to Apple’s development tools and platform capabilities. This makes it suitable for developers who need detailed control over application behavior, performance, and integration with iOS features.
The trade-off is the learning curve: you need programming knowledge and a Mac for the standard Xcode workflow.
Choose it when: you want to learn professional iOS development or build a highly customized iPhone app.
FlutterFlow: For Visual Development With a Path to Code
FlutterFlow provides a visual environment for creating applications using Flutter. You can assemble screens, configure interactions, connect data, and build for iPhone and Android.
Its code-export workflow can give development teams a way to continue working with the generated Flutter project, although customization and maintenance may require programming skills.
Before choosing it, verify that its integrations and export workflow support your application’s requirements.
Choose it when: you want visual development without giving up the possibility of working with Flutter code.
Thunkable: For Visual, Cross-Platform Apps
Thunkable combines visual interface design with logic blocks and mobile application features. It offers workflows for building and publishing apps for iOS and Android.
It can help creators develop functional mobile experiences without writing every component from scratch. However, publishing options, available integrations, and plan limits should be reviewed before starting a commercial project.
Publishing to Apple’s App Store also requires an Apple Developer account and compliance with Apple’s submission requirements.
Choose it when: you want a visual workflow for an app intended for both iPhone and Android users.
Adalo: For No-Code Business and Consumer Apps
Adalo provides a visual canvas for building application screens and connecting them to data and workflows. It is aimed at people who want to create apps without managing a conventional development environment.
It may suit straightforward business tools, directories, booking experiences, and similar projects. More demanding applications require careful evaluation of data access, performance, integrations, and platform limitations.
Check its current publishing and subscription terms before committing to a project.
Choose it when: your priority is creating a functional app through a visual, no-code workflow.
The Main Options Compared
| Platform | Best suited to | Main trade-off |
|---|---|---|
| Xcode | Custom iOS development | Requires programming skills and a Mac for the standard development workflow |
| FlutterFlow | Visual development with Flutter | Advanced customization may require code |
| Thunkable | Visual, cross-platform app creation | Publishing and plan restrictions need checking |
| Adalo | No-code business and consumer apps | Confirm its capabilities match complex requirements |
What to Check Before Building
Apple publishing requirements: Creating an app and getting it into the App Store are separate tasks. You will need to prepare the app listing, screenshots, privacy information, and comply with Apple’s review requirements. Some builders simplify the build process, but they do not remove Apple’s approval process.
Device testing: Preview your app on realistic iPhone screen sizes. Test navigation, forms, notifications, network failures, and any device permissions your app uses.
Data and integrations: If your app needs accounts, payments, maps, or a remote database, confirm that the chosen platform supports the required integrations and access controls.
Long-term ownership: Check whether you can export source code, maintain the project independently, and move to another workflow if your requirements change.
Which iOS App Builder Should You Choose?
- Choose Xcode if you want to learn Swift and build a highly customized iPhone application.
- Choose FlutterFlow if you prefer visual development while retaining a route toward Flutter code.
- Choose Thunkable if you want to build an app for both iOS and Android through a visual workflow.
- Choose Adalo if you want to create a straightforward app using a no-code interface.
Before paying for a platform, build a small prototype that includes one important user journey. Test whether it works on an actual iPhone, confirm that your required integrations are available, and review the publishing process.
The best choice is not necessarily the builder with the most features. It is the one that can deliver your essential app functions, meet Apple’s requirements, and remain manageable as the project grows.
