Upgrade & Secure Your Future with DevOps, SRE, DevSecOps, MLOps!
We spend hours scrolling social media and waste money on things we forget, but won’t spend 30 minutes a day earning certifications that can change our lives.
Master in DevOps, SRE, DevSecOps & MLOps by DevOps School!
Learn from Guru Rajesh Kumar and double your salary in just one year.
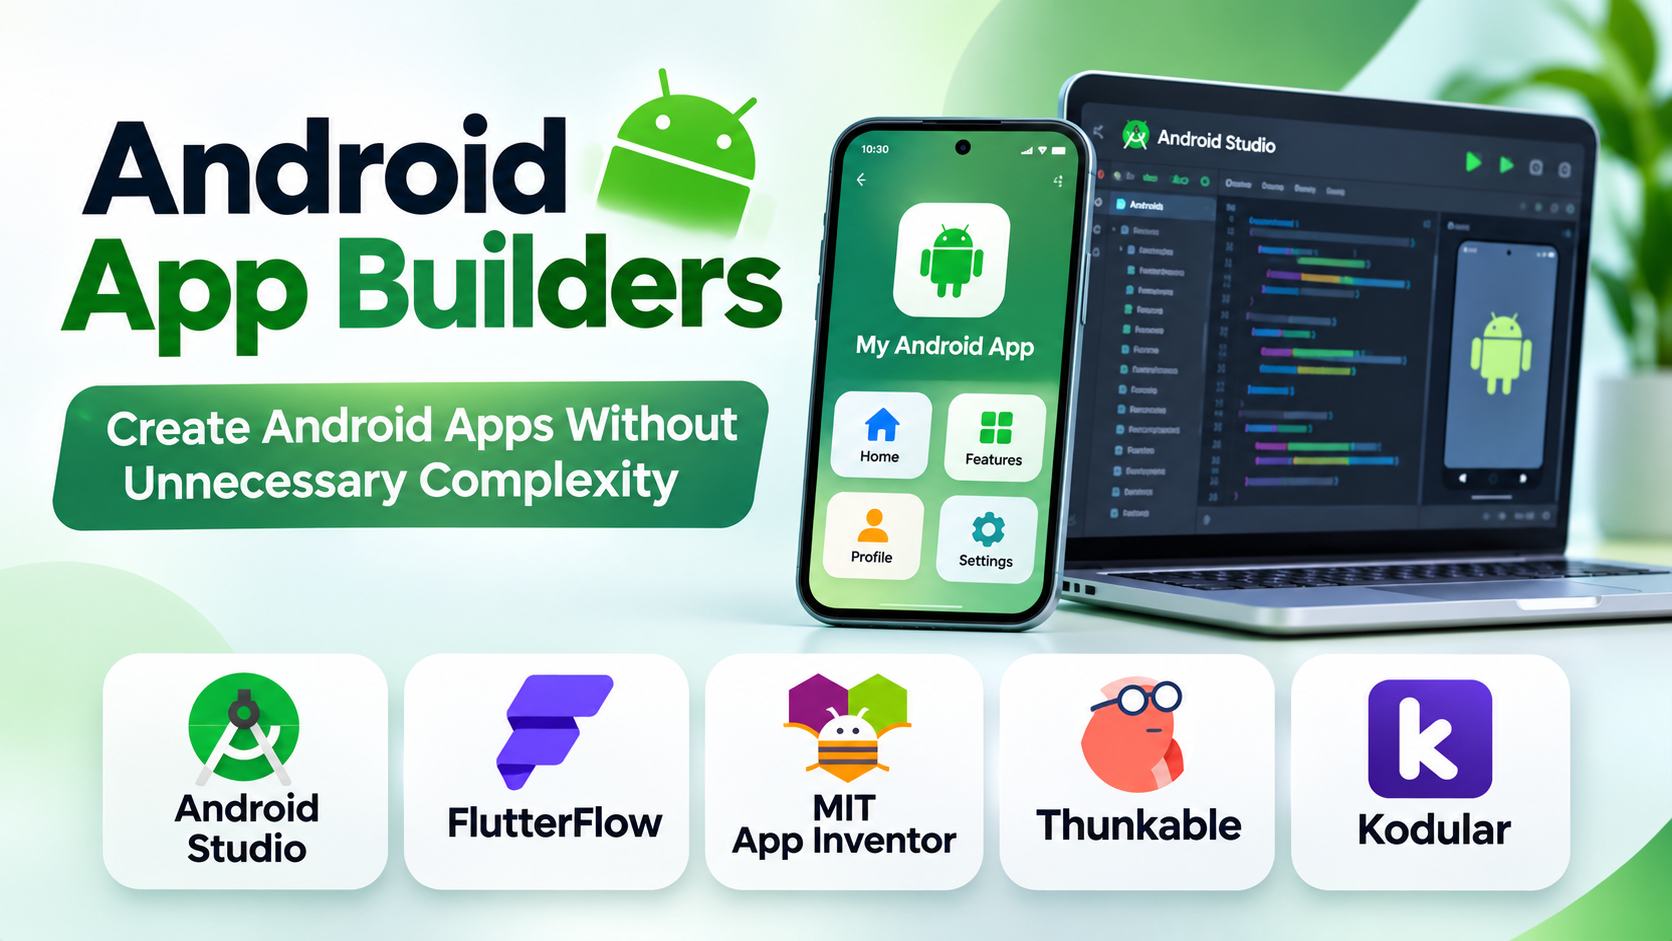
An Android app can begin as a simple idea—a booking system for a local business, a student learning app, or a tool that tracks daily activities. The difficult part is choosing how to turn that idea into a reliable application without investing in unnecessary complexity.
Some Android app builders let you assemble screens and logic visually. Others provide professional development environments where you control the code, architecture, and testing process. These approaches serve different needs, and choosing the right one early can save considerable rework.
Five Android App Builders With Different Strengths
Android Studio: For Developers Who Need Full Control
Android Studio is Google’s official integrated development environment for Android applications. It includes a code editor, build tools, an emulator, debugging facilities, and testing support. Developers commonly use Kotlin or Java to implement application behavior.
Its main advantage is control. You can work directly with Android APIs, manage dependencies, investigate performance problems, and customize application behavior beyond the limits of a visual builder.
The trade-off is the learning curve. Developers must understand programming, project structure, build configuration, and Android’s application lifecycle.
Choose it when: you want to learn professional Android development or build an application requiring substantial customization.
FlutterFlow: For Visual Development With a Path to Code
FlutterFlow provides a visual environment for creating applications using Flutter. Instead of manually coding every screen, you can assemble interfaces, configure interactions, and connect application data through its development interface.
One important distinction is that FlutterFlow also supports exporting project code through its documented workflows. This can provide additional flexibility for teams that want to continue development outside the visual builder, although exported projects may still require technical knowledge to maintain.
Its suitability depends on the application’s architecture, integrations, and the team’s ability to manage the generated project.
Choose it when: you want to develop visually but value the option of working with Flutter code as your project grows.
MIT App Inventor: For Learning and Simple Prototypes
MIT App Inventor uses a block-based programming model. Instead of writing conventional code, users connect visual blocks that represent events, conditions, actions, and other program logic.
This makes it particularly useful for beginners who want to understand how applications behave without first learning programming syntax. Its educational resources also provide a practical route from simple exercises to projects involving sensors, maps, and connected services.
The limitation is that complex production applications may require capabilities and architectural flexibility beyond what a beginner-oriented visual environment is designed to provide.
Choose it when: your priority is learning, teaching, experimenting, or building a relatively straightforward application.
Thunkable: For Building Mobile Apps Without Traditional Coding
Thunkable combines visual interface design with logic blocks and mobile application features. Its platform supports building, testing, and publishing workflows for Android and iOS, with integrations and device capabilities available according to its supported components and configuration.
It is useful when the main challenge is turning an idea into a working mobile experience rather than writing every component from scratch. Users can design screens, add behavior, connect data, and test the application on devices.
Before choosing it for a commercial project, examine the current publishing requirements, plan restrictions, and available integrations. Subscription limits may affect how you develop and distribute the finished app.
Choose it when: you want a visual workflow for creating functional mobile applications without becoming a full-time programmer.
Kodular: For Block-Based Android Applications
Kodular uses a visual, block-based editor and a component-oriented approach to Android app creation. Users can arrange interface elements and connect logic blocks to define how an application responds to actions.
Its visual development model can make small projects more approachable than conventional programming. It is worth considering for simple utilities, educational projects, and prototypes where the available components match the requirements.
However, component availability should not be confused with unlimited customization. Before committing to a complex application, confirm that the platform supports the required integrations, maintenance workflow, and distribution needs.
Choose it when: you want to create an Android-focused application using visual components and block-based logic.
How the Platforms Differ
| Platform | Development approach | Main advantage | Main consideration |
|---|---|---|---|
| Android Studio | Conventional programming | Direct control over Android development | Requires programming knowledge |
| FlutterFlow | Visual Flutter development | Visual building with code-export options | Exported projects may require coding skills |
| MIT App Inventor | Block-based programming | Accessible learning environment | Less suited to some complex applications |
| Thunkable | Visual, no-code development | Mobile app building and publishing workflow | Check plan and publishing restrictions |
| Kodular | Block-based Android development | Visual components and logic | Verify advanced feature requirements |
These tools should not be treated as interchangeable products. Android Studio is a full development environment, while the other platforms emphasize visual construction and reduced coding effort. The right comparison is therefore about the work you need to accomplish, not simply the number of features each product advertises.
The Decision That Matters Most: What Must Your App Do?
Before choosing a platform, write down the application’s essential functions. A basic information app has very different requirements from a service marketplace with user accounts, payments, location tracking, notifications, and administrative controls.
Consider three common situations:
- A student creating a first project: MIT App Inventor can help you understand programming logic. Android Studio is a stronger next step if you want to learn professional development.
- An entrepreneur validating an idea: FlutterFlow or Thunkable may help you create a functional prototype without building every screen from scratch.
- A business commissioning a complex application: Evaluate technical flexibility, data handling, security, integration options, testing, and long-term maintenance before selecting a visual builder or a conventional development approach.
A prototype that looks convincing is not necessarily ready for public release. Data persistence, error handling, accessibility, privacy, and performance all require attention regardless of the tool used.
What to Check Before Publishing
App creation is only one stage of delivery. Before releasing an application, verify that:
- Core features work on representative Android devices.
- Forms, navigation, and network failures behave predictably.
- User information is handled appropriately and securely.
- Required permissions are justified and explained.
- The app can be updated and maintained.
- Publishing requirements, signing arrangements, and applicable store policies are satisfied.
- Any platform subscriptions or external services fit the ongoing budget.
Visual builders can reduce initial development effort, but they do not remove responsibility for the finished product. Likewise, writing code directly does not automatically guarantee quality; testing and sound engineering practices remain essential.
Make a Small Prototype Before Committing
Build one essential user journey first. For example, a booking app might allow a user to select a service, choose a time, and submit a request. Test that workflow on an actual device before expanding the project.
This exercise reveals whether the selected platform supports the required interactions, data storage, and integrations. It also helps identify limitations before they become expensive to address.
The best Android app builder is the one that matches your technical ability and the complexity of your application. Start with a visual tool when speed and accessibility matter most. Choose Android Studio when direct control and deeper customization are central requirements. For any larger project, validate the important technical requirements with a working prototype before committing to the platform.
